
How Much Can a Business Save by Installing Solar Panels?
September 29, 2025Read
A comprehensive guide to building an off-grid solar system. Learn the key components, design considerations and practical steps for creating a self-sufficient solar power setup.
Off-grid living has gained tremendous popularity in the last few years, and one of the critical necessities when living off-grid is a consistent supply of energy. Among the few available options of energy sources, the most popular is solar, owing to the obvious reasons of its incredible flexibility and reliability of operation, as well as the simplicity of installation. As a result, going off-grid today is almost synonymous with going solar.
Nearly any off-grid structure can be made self-sustaining with a simple, DIY solar power system. The huge variety of solar equipment in the market means that with a little understanding of system design and some basic electrical know-how, pretty much anyone can enjoy uninterrupted power in an off-grid setting.
Let’s take a look at everything you will need to build a system yourself, and how to do it.
Any Commercial solar in Ontario requires the following four components to begin with:
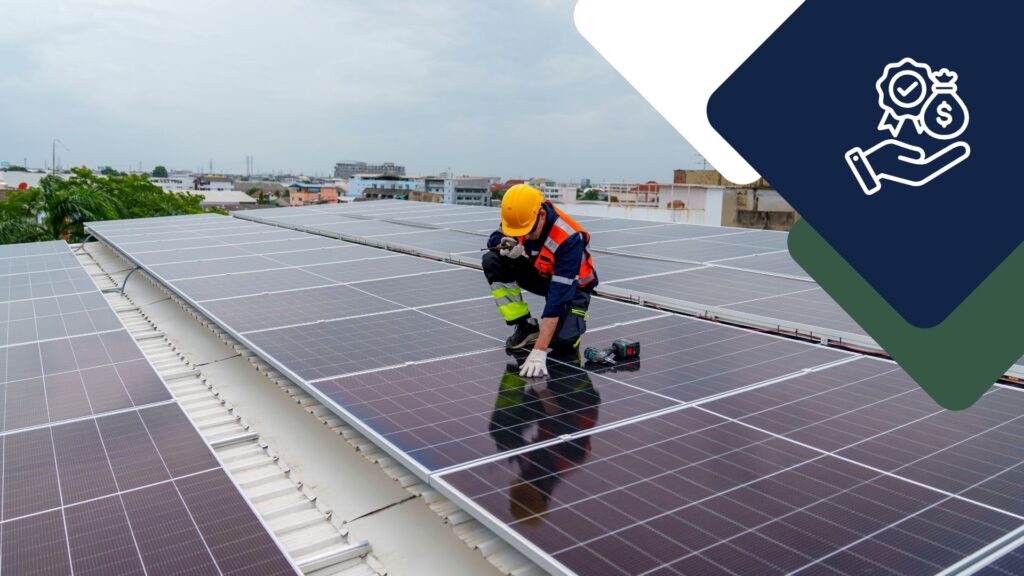
The first and foremost is the power-producing component of the system – solar panels. Also known as modules, solar panels convert the energy in sunlight into electric current, hence the name “photo-voltaic”. They are available in two main types – polycrystalline and monocrystalline.
Although polycrystalline panels are cheaper, monocrystalline panels are more efficient. With the rapid fall in panel pricing in recent years, monocrystalline is now an obvious, recommended choice.
An inverter converts the direct current (DC) coming from the panels into the more usable alternating current (AC) that most electrical appliances need. Due to this similarity in function and importance, the inverter is often dubbed as the heart of a solar system.
If you are running only DC loads, you may be able to set up a system without an inverter, but this severely limits your ability to run a variety of everyday household appliances.
Among its different types, an inverter with a pure sine wave output is recommended for proper efficiency and reliability.
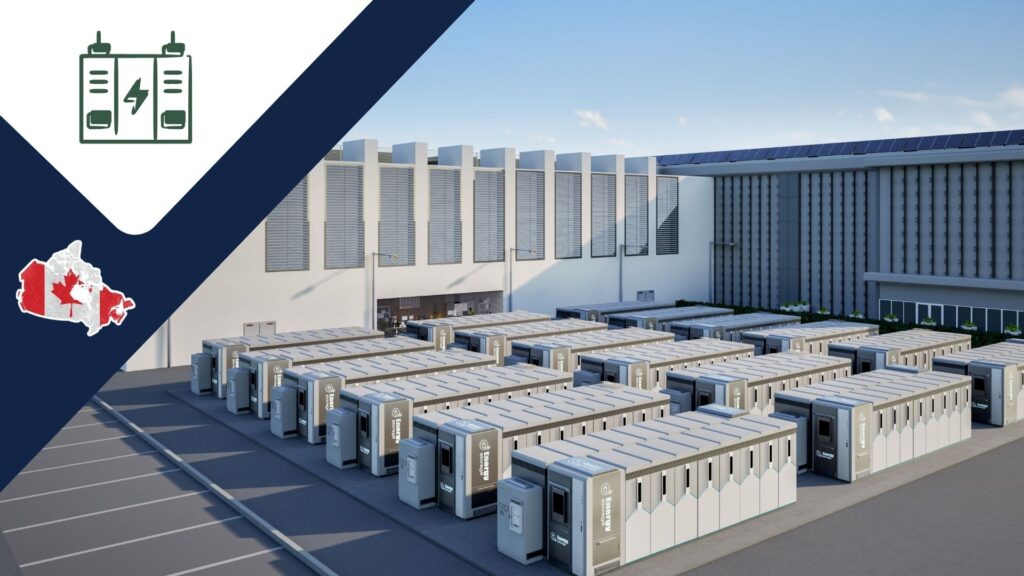
Batteries are chemical devices that are capable of storing electrical energy through chemical conversions happening inside of them, and are particularly important in an off-grid setting, where you cannot purchase grid power for consumption during darker hours and cloudy days.
Among the few major battery types, the most advanced option today is the lithium-ion battery, which packs more energy capacity per unit volume, and also offers some other pros such as greater safety and reliability.
As the name suggests, a charge controller is an electrical component that controls the charge, or in other words, monitors the current flowing from the panels to the batteries for optimum charging and efficiency.
Besides the above four, the other major components that complete a solar power system are together known as the Balance of System (BOS), which includes:
Lastly, there are tools that you will need to help you install the solar system:
Now that we have everything we need, let’s jump on to the step-by-step process of designing and installing an off-grid solar power system.
Although designing and installing an off-grid system isn’t difficult, it has noticeable complexity and involves a more or less fixed sequence of steps.
The first step that comes before installing any of the components is figuring out the specifications and the quantity of the components you will require – based on how much energy and continuous power you will be using.
To begin with, you need to list all your electrical appliances, their power consumption, and duration of use, as shown in the following example:
Based on how much energy you will use during sunny and dark hours, you may need to store this entire 3000 Wh in a battery or a part of it. It is safer to assume you will store all of it in the batteries, meaning you need a 3kWh or higher-capacity battery bank.
As for the Commercial solar panel size, it will depend on the location. While some areas receive up to 5 hours of full sunshine on average, some receive only about 3. You can refer to one of the many sources on the internet for average sunshine hours in Canada.
Let’s assume that you are in a region with four hours of average daily sunshine. The solar panel capacity needed will thus be 3000 Wh / 4 h = 750 W.
These basic calculations can provide you with a rough approximation of the size of solar panels and the battery required.
Alternatively, you can also use an online calculator which can give you the power rating required and even the estimated savings, or simply consult a solar power company for accurate load analysis and system design for your off-grid setting.
Once you have the specs for everything, start by purchasing and installing the batteries first.
Most batteries in the market are rated 12V by default. Your system might require a different voltage, according to which you will need to connect the batteries in series or parallel. This depends on the input voltage of the inverter.
s discussed earlier, a charge controller optimizes the charging of batteries and improves overall system efficiency. For higher efficiency, an MPPT charge controller is recommended over a PWM one.
Controllers come in 12V or 24V ratings, and you can choose the correct one based on your system (inverter) voltage.
For the current rating, on the other hand, we add a little safety margin to the amount of current coming from the solar panels. Considering a safety margin of 30%, you can calculate the current rating for the controller by a simple calculation:
Solar panel current rating x 1.3 = charge controller current rating
If the system rating of your solar panels is not known, use the following equation instead:
(Solar panel total watts/system voltage) x 1.3 = charge controller current rating
For example, if you have 600W solar panels and a 12V system, your charge controller rating will be 12V and 600/12 x 1.3 = 65 A
An inverter is needed to convert the electricity coming from the solar panels or batteries into a usable form (AC). You can do without an inverter only if you are building a purely DC setup that runs only DC loads, but that will seriously restrict the loads you can run on your system.
Inverters come with a predefined voltage rating, with the smaller sizes usually having a 12V or 24V rating. When setting up the entire system, select the solar panels, charge controller, and batteries so they are configured to this rating.
On the power rating side, always select an inverter slightly larger than your calculated system size. For example, a 1200W inverter should work if your load calculation says you need a 1000W system. Last but not least, always prefer an inverter with a pure sine wave output for the best efficiency.
Based on the load calculation and the selected batteries, controller, and inverter, the next step is choosing and installing the correct solar panels based on the voltage rating.
The following wiring diagram gives a good idea of how to connect your panels based on the inverter rating. For instance, a 24V inverter and 12V panels mean you will need to connect two panels in series. For more than two panels, you can connect pairs of panels in parallel (known as “strings”).
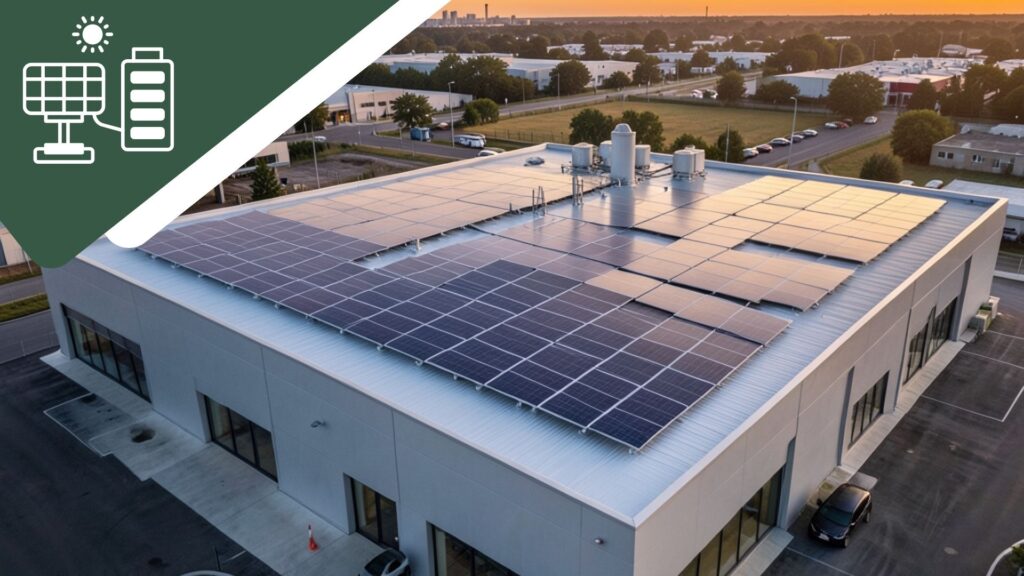
When installing, the panels should directly face the sun for as long as possible. It is hence preferred to install them facing south (north if you are in the southern hemisphere). Another thing to take care of is to install the panel in a shade-free area. Always make sure that there is no shadow from nearby buildings or trees at any point of the day.
Here comes the final step of connecting everything. Following is the wiring diagram for the connection:
Though connections may seem simple, it is crucial to connect wires as per the correct polarity (i.e. connect the positive terminals of one component to the positive of another and the same for negatives). Normally, different colored wires are used to avoid confusion – usually red and black.
When finally connecting the solar panels to the controller, keep the panels covered with a dark cloth to avoid a sudden incoming current that can damage your other components.
The interest in sustainable, off-grid living has exploded in recent years, and there is rarely a better option for your off-grid energy needs than setting up a solar power system. Solar power’s astounding flexibility of size and location, coupled with its impressive simplicity of installation means building a DIY, off-grid solar power system is a great idea, and is often also an enjoyable experience.
All you need to design and install your off-grid unit is to figure out the specs, do a few basic calculations, understand the basics, and you are on your way to building a self-sustaining off-grid haven.